
Set Up a 10×20 Pop-Up Canopy: Easy Step-by-Step
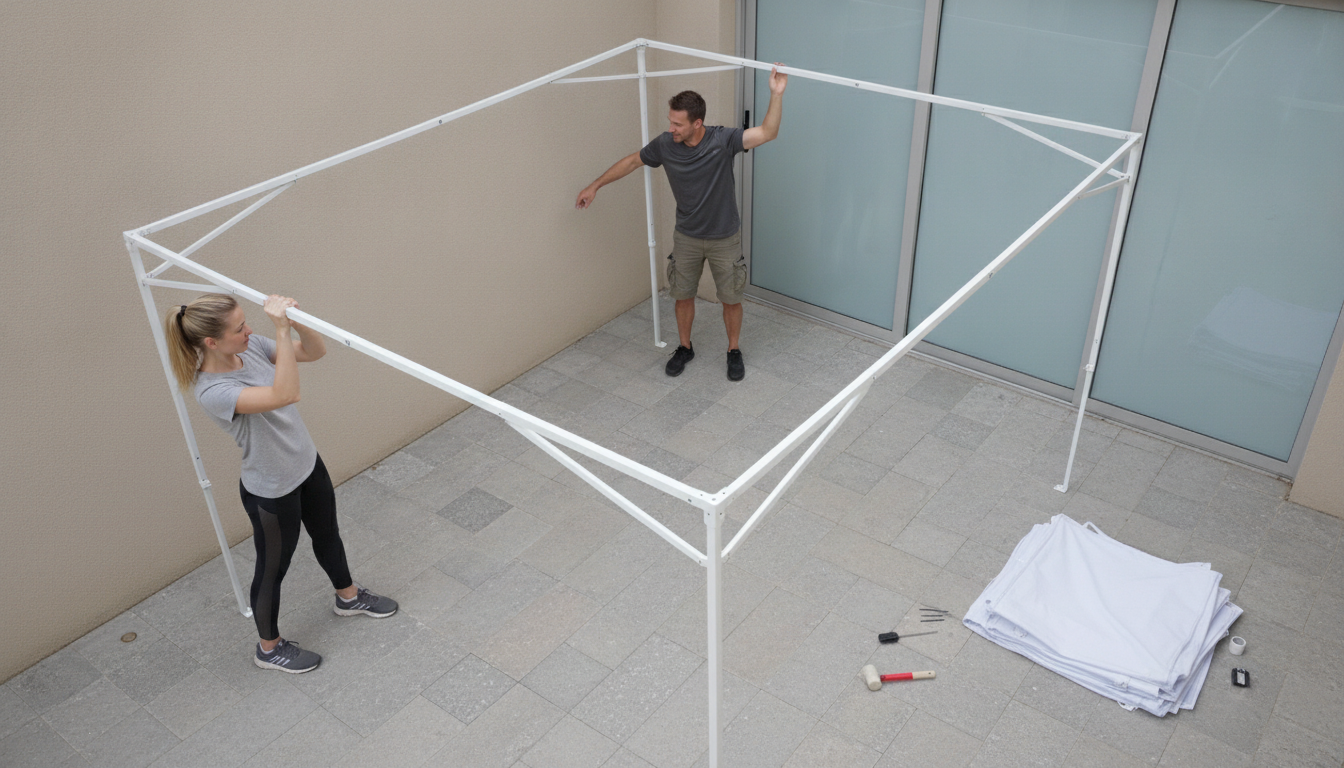
How to set up a 10×20 pop-up canopy?
A 10×20 pop-up canopy sets up quickly, but the easiest way to get a tight, level frame is to open it gradually, add the top early, and only then extend the legs. Plan on two people for best control (especially in breezy conditions).
1) Pick the spot and prep the ground
Choose the flattest area you can. Clear rocks or sharp debris that could puncture the top or make a leg sink. If it’s windy, keep the canopy in its bag until stakes or weights are ready.
2) Unfold the frame (partial open)
Remove the frame from the bag and stand it upright. With a partner on the opposite side, gently pull the frame corners apart to open it halfway—just enough to create space for the canopy top. Avoid forcing any joints; if it resists, reposition and pull evenly.
3) Add the canopy top and secure it
Drape the fabric top over the frame so the corners align. Attach corner straps or hook-and-loop fasteners around the frame, then secure any center straps if included. This keeps the top from shifting as you expand the structure.
4) Fully open and lock the frame
Continue pulling opposite corners until the frame is nearly fully expanded. Engage the frame’s locking mechanisms (often push pins or sliding locks near the trusses). Confirm each lock is clicked in on all sides before raising the legs.
5) Extend the legs to height, one side at a time
Set the canopy to a comfortable working height first, then raise to full height if needed. Adjust in small increments, moving around the canopy so it stays level. Make sure each leg’s height setting is matched to prevent twisting.
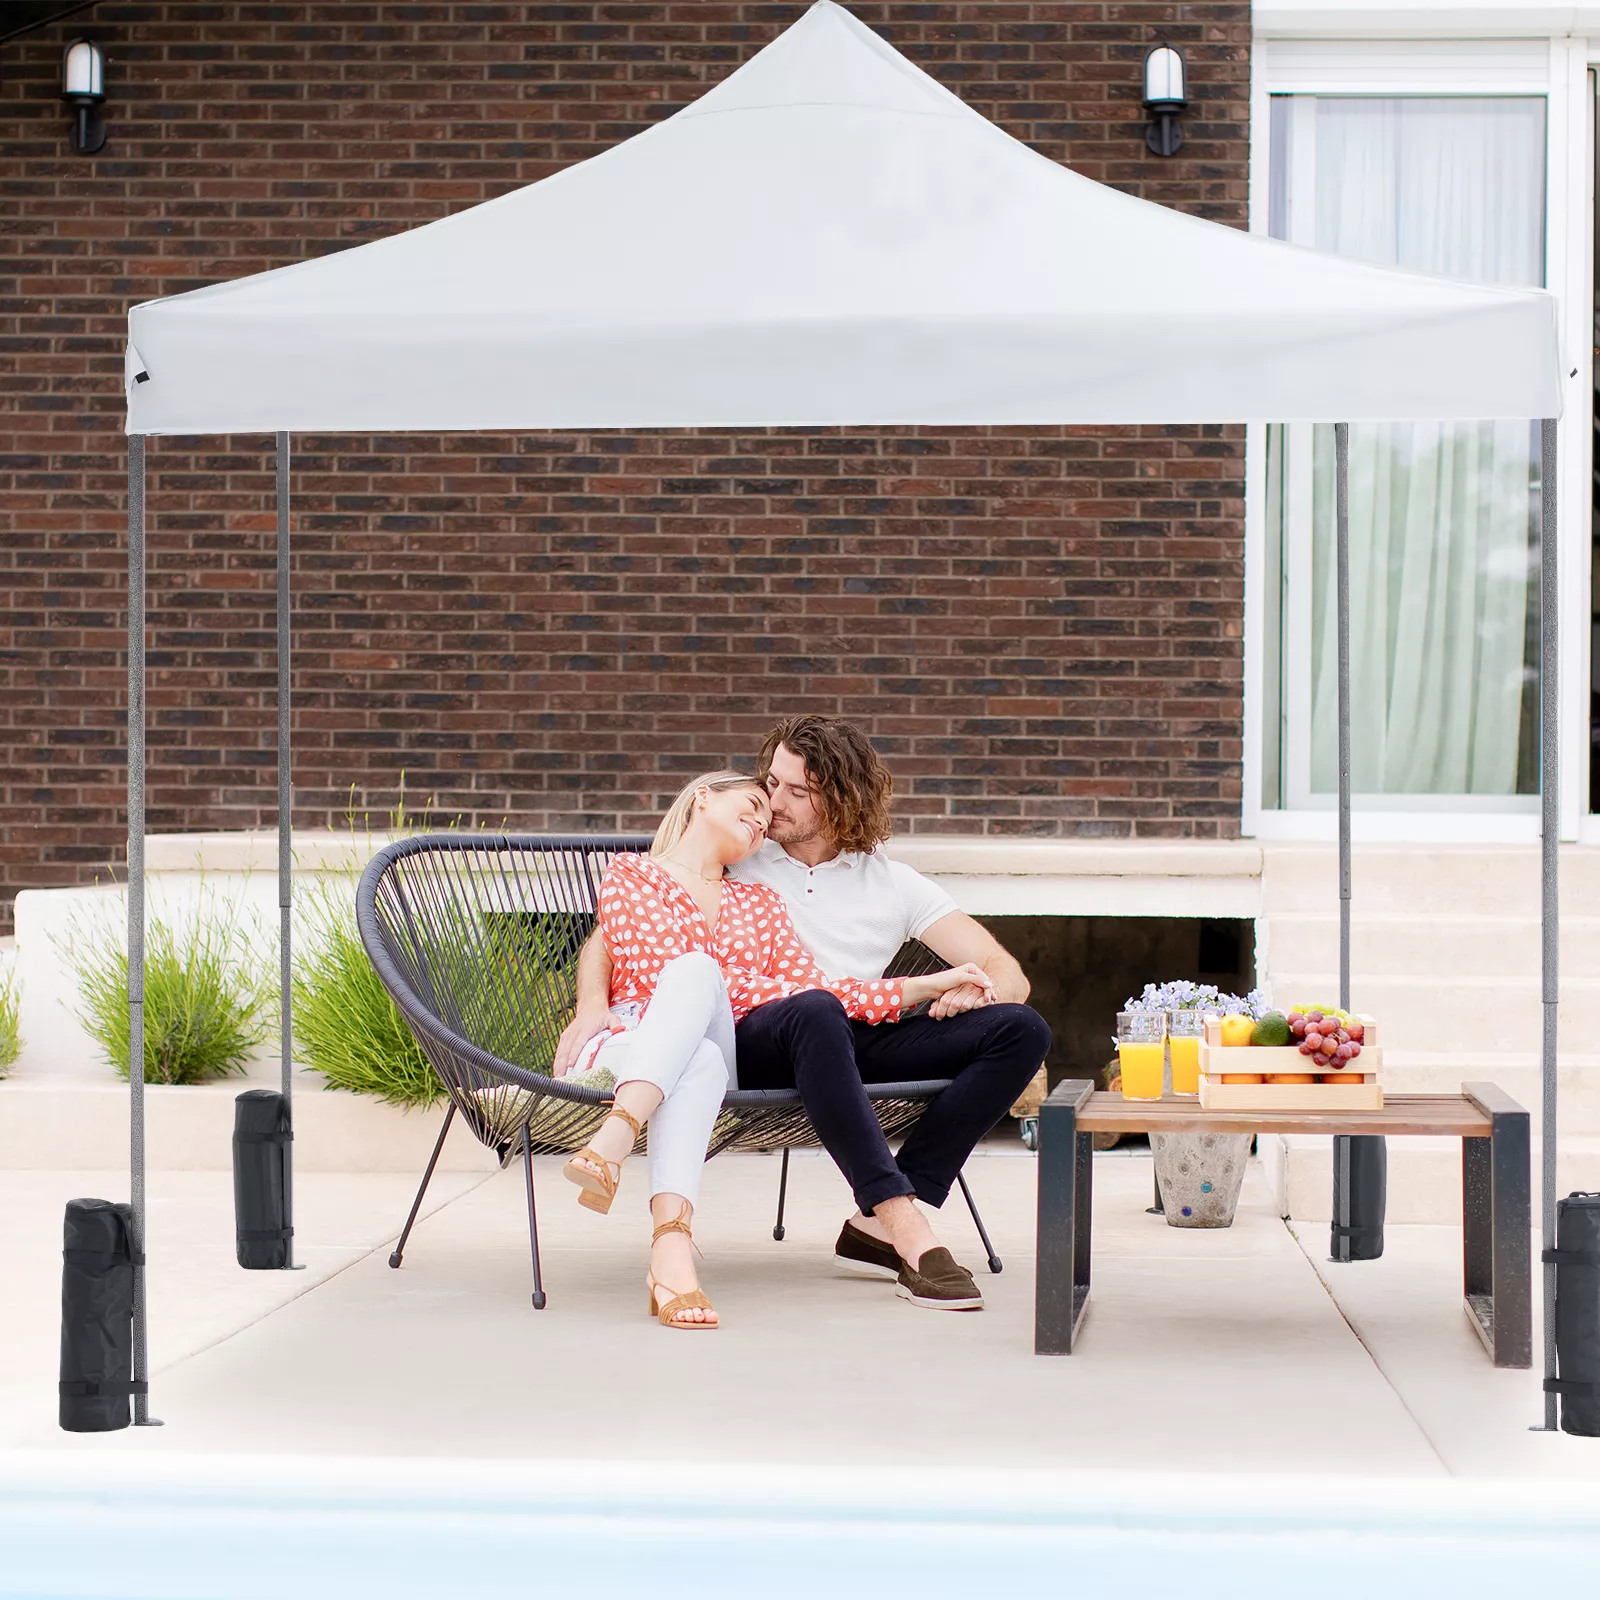
6) Anchor it immediately
Stake each leg if you’re on grass or soil, or add proper canopy weights on hard surfaces. A 10×20 has more wind exposure than smaller sizes, so anchoring is not optional. For extra guidance on pop-up canopy features and setup basics, see this related guide: https://luxjoy.shop/guide-10×10-pop-up-canopy-tent-guide/.
FAQ
How do you anchor a pop-up canopy on concrete?
Use canopy weight bags, steel plate weights, or water weights strapped to each leg, and tighten all leg straps so nothing shifts. If conditions are gusty, add guy lines to additional weights for stability.










Leave a comment