Button Maker Machine Kit Guide: Easy Pins & Badges
Button Maker Machine Kit: Make Pins, Name Badges, and Custom Buttons That Actually Get Used
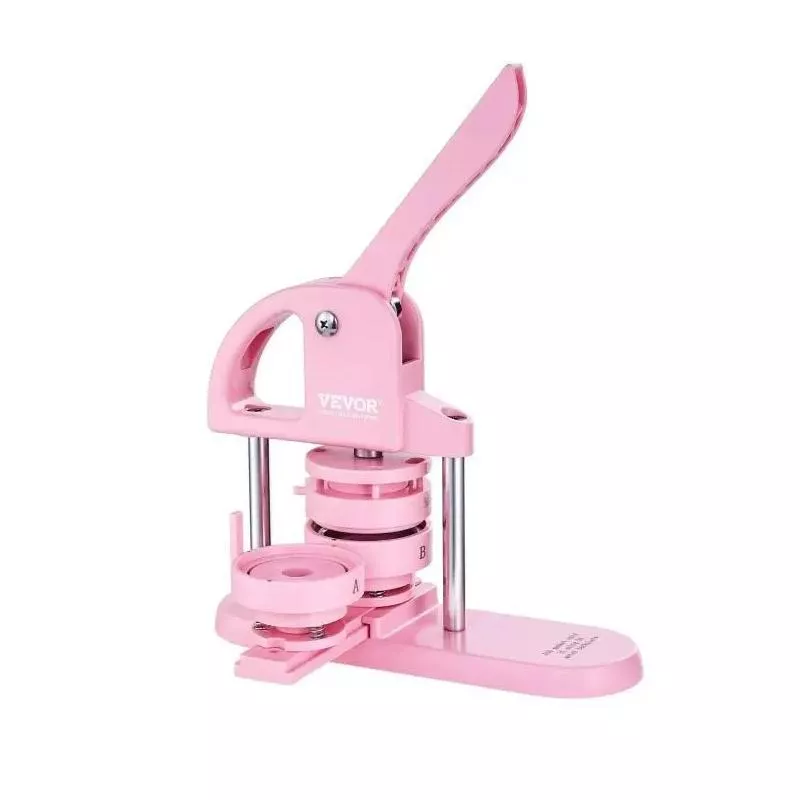
A button maker machine kit turns quick ideas into something people can wear, trade, and keep. Whether you’re prepping for school spirit day, setting up a craft-market table, organizing volunteer roles, or testing a small merch run for your club, buttons are one of the simplest ways to create a “real product” without complicated equipment. Our team put together this guide to show you the projects a button maker is perfect for, what to prep before you press your first button, and how to get clean, consistent results once your session starts. For more guidance, see People Power Press – Custom Buttons, Button Machines and ….
What a button maker kit is best for
- Events and gatherings: reunions, fundraisers, conferences, and vendor fairs where a wearable takeaway helps people remember the moment.
- Clubs and teams: quick ID for volunteers, captains, committees, and student groups without ordering bulk badges every time roles change.
- Small-batch merch: fan buttons, album-release buttons, podcast catchphrases, and limited editions that feel collectible.
- Classrooms and youth groups: reward buttons, reading challenges, “ask me about…” prompts, and project showcases.
- Creative gifts: sets of personalized buttons for birthdays, bridal parties, baby showers, and holiday stocking stuffers.
A simple workflow that keeps button-making smooth
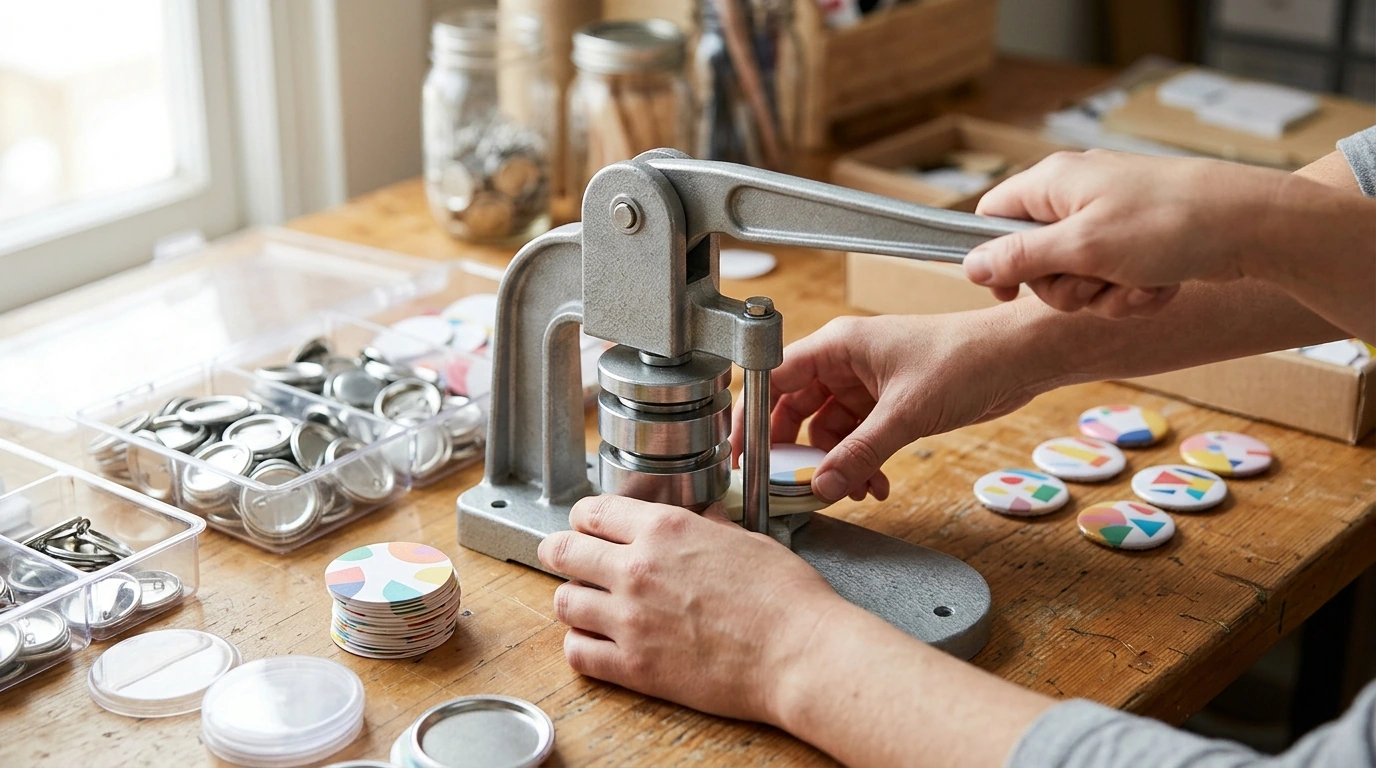
The easiest way to avoid wasted parts is to run your session like a mini assembly line. When you keep sizes, stacks, and steps consistent, your results stay consistent too. For further reading, see Badge & Button Maker Machine.
- Pick a size and stick to it for the whole session so setup stays consistent and parts don’t get mixed.
- Design once, then print a full sheet: use a template sized for your button diameter and keep a safe margin so important text doesn’t land on the crimp edge.
- Cut cleanly: crisp circles matter more than most people expect—uneven edges can cause wrinkles or off-center graphics.
- Build a repeatable stack: paper + cover (often a clear film) + shell on the front side; backing on the other side, aligned the same way every time.
- Press with one steady motion: consistent pressure improves the crimp and reduces mis-formed buttons.
- Batch by steps: print everything, cut everything, then press—this reduces mistakes and makes the process faster for groups.
What to prepare before pressing your first button
- A dedicated work surface: a stable table helps keep alignment true and makes pressing more comfortable.
- Cutting tools: sharp scissors can work, but a circle cutter or punch-style cutter speeds up bulk cutting and keeps edges uniform.
- Printing basics: standard home printers are fine; choose paper that prints clearly and doesn’t feel overly thick at the edges.
- Design templates: create a reusable file for your button size so every design lands properly (especially small text and faces).
- Storage for parts: small trays or containers prevent shells/backings from scattering and keep sessions organized—especially with kids or volunteers.
If you want a fast start on layouts, tools like Adobe Express and Canva can help you build reusable templates you can update for each event.
Project ideas (and what to focus on for each)
Buttons work best when you match the design to the way people will actually use them. A name button needs instant readability; a merch button should look iconic even when it’s small.
- Name buttons for events: prioritize legibility—large names, high contrast, simple icons.
- School spirit packs: do 5–10 coordinating designs so people can trade; keep a consistent theme and color palette.
- Fundraiser sets: bundle 3–5 designs; a variety pack often sells better than single buttons.
- Branding for small businesses: include a logo button and a slogan/button-CTA option; keep backgrounds clean so logos read at a glance.
- Awareness and cause campaigns: focus on clear messaging; test readability from arm’s length before printing in bulk.
Button projects at a glance
| Project type | Best for | Design tip | Production tip |
|---|---|---|---|
| Name buttons | Events, conferences, volunteer teams | Big text, high contrast | Print in batches; cut and stack by name |
| Spirit/fandom buttons | Schools, clubs, fan groups | Consistent colors and theme | Make small runs of many designs to encourage trading |
| Fundraiser packs | Charities, school programs | One bold message per button | Bundle sets for higher perceived value |
| Small merch drops | Creators, bands, podcasts | Limit text; make it iconic | Number editions or rotate designs monthly |
| Party favors | Birthdays, bridal parties, showers | Names + date or role labels | Prep all circles ahead; press assembly-line style |
How to get cleaner, more consistent buttons
Who this kit fits best
In-stock picks from our store for your next project
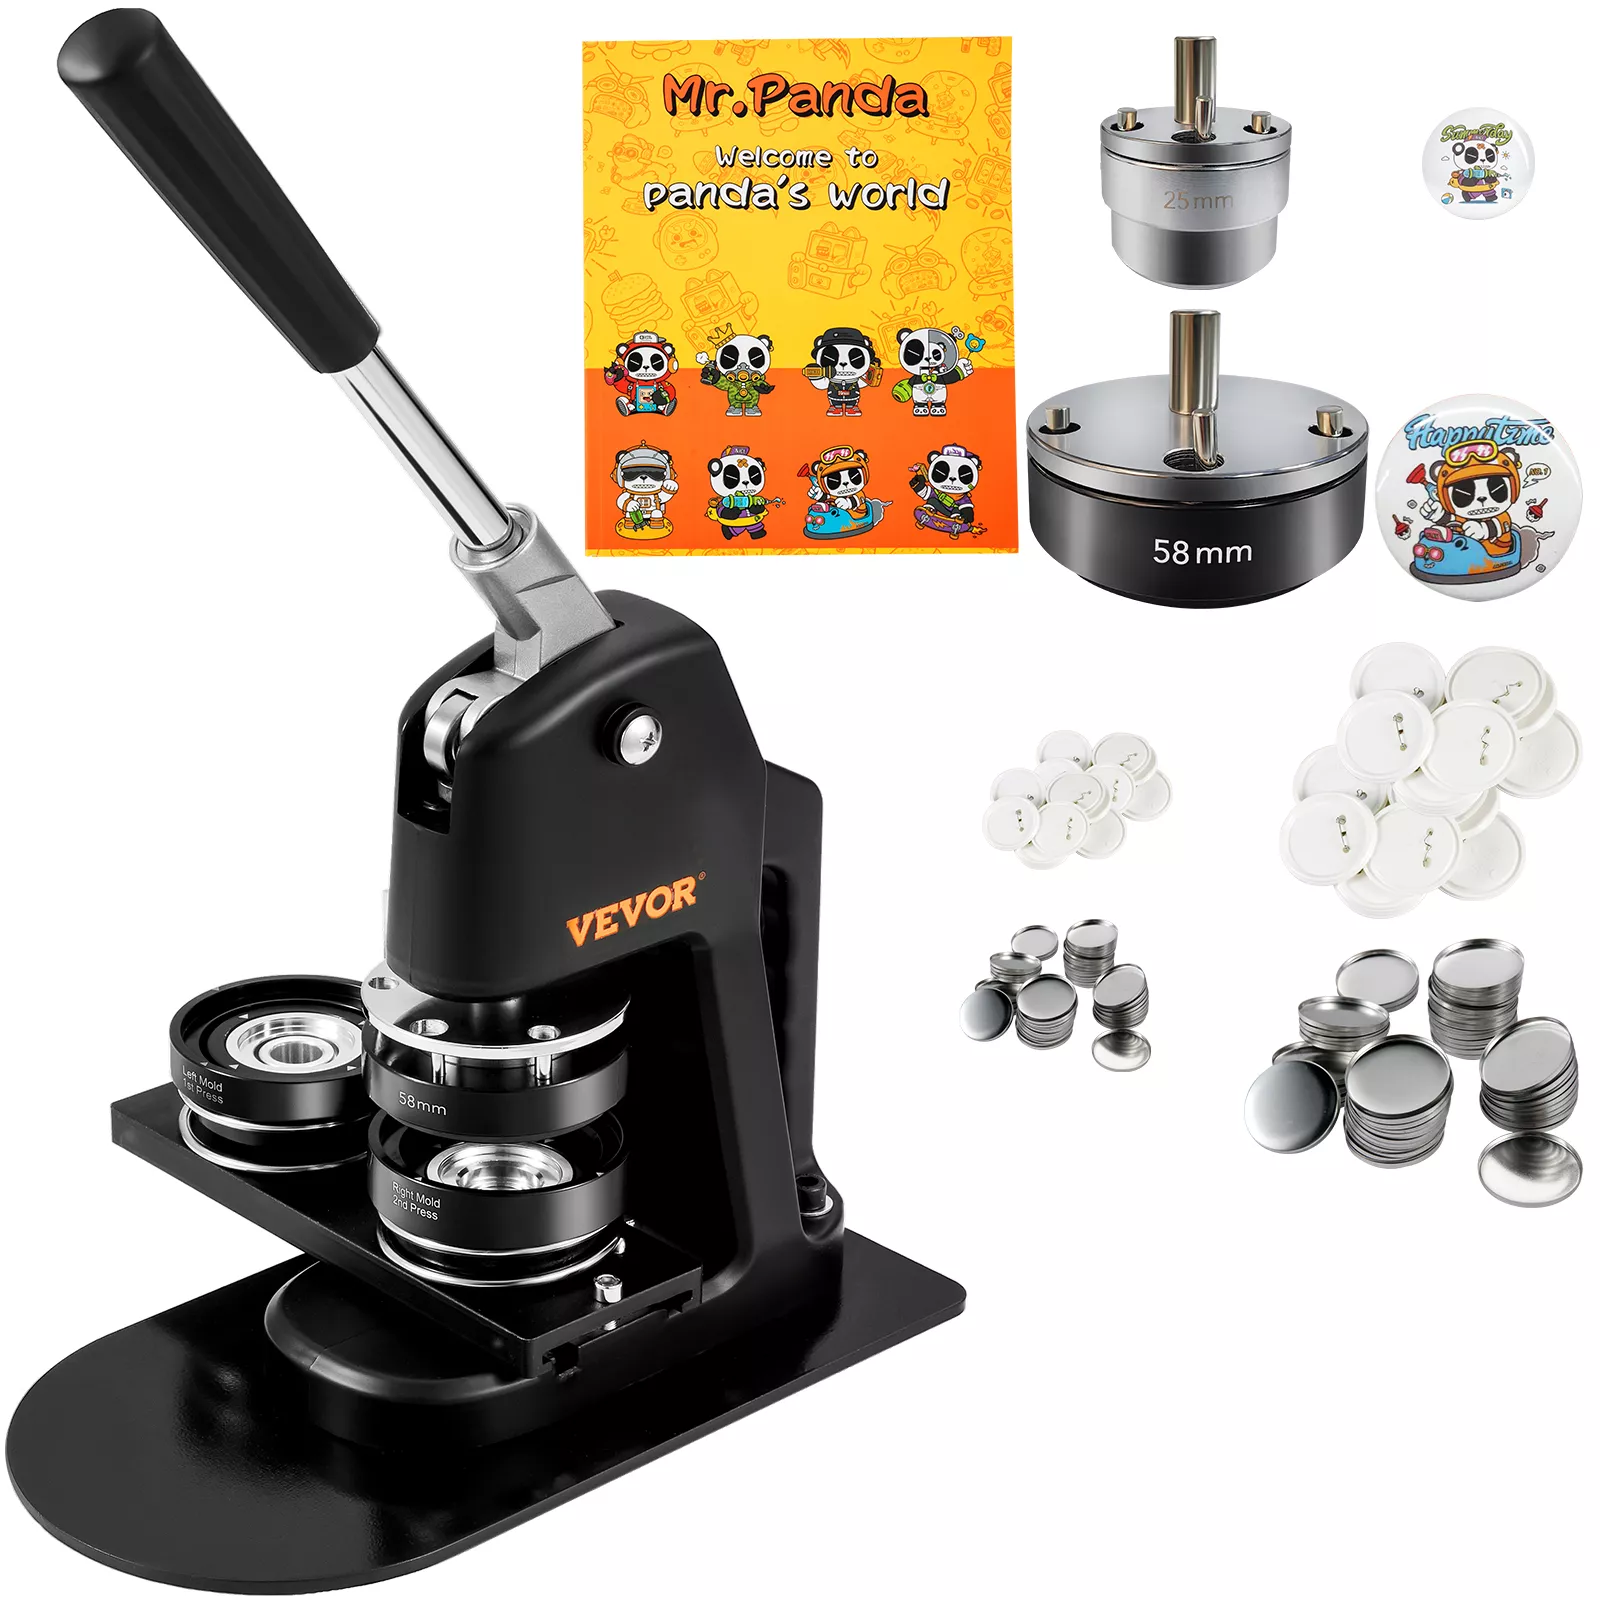
- Button Maker Machine Kit — a practical way to produce wearable buttons on demand for events, clubs, and small merch runs.
- Low Waist Cargo Pants — handy when you’re running an event table and want extra pockets for markers, clips, and small supplies.
- autumn-womens-coat — useful for outdoor fundraisers and fall vendor fairs where you’re pressing and selling in cooler weather.
FAQ
What materials do buttons usually need besides the machine?
You’ll typically need printed circle designs, matching button parts (shells and backings), and often a clear cover/film layer. Exact supplies depend on your kit and the button style and size you’re making.
Why do my buttons wrinkle or look off-center?
Wrinkles and crooked graphics usually come from unevenly cut circles, artwork placed too close to the edge, misaligned parts in the press, or inconsistent pressure. Using a template, cutting cleaner circles, and doing a quick test run before a full batch helps a lot.
Is a button maker good for small merch runs?
Yes—button makers are well-suited for short batches, limited editions, and quick restocks. You’ll get the best flow by batching steps (print, then cut, then press) and keeping designs simple and readable at a glance.










Leave a comment